The velvety sweetness of Japanese red bean with the nutty crunch of walnuts cozied up inside buttery, bouncy mochi? And all without having to steam and shape by hand? Let's get into it.

What is Butter Mochi?
Butter mochi is a classic Hawaiian dessert, often called by the full name "Hawaiian Butter Mochi" by non-Hawaiians, originating as a multi-faceted fusion of local Hawaiian culture and Asian culinary influences. The primary ingredients—glutinous rice flour, butter, coconut milk—and resulting taste and texture are a kind of hybrid of Japanese mochi, Chinese nian gao, Filipino Bibingka, and Korean sweet chapssal tteok.
Make no mistake though. Butter Mochi is unmistakably its own thing.
Butter, along with milk and eggs, give Butter Mochi richness similar to regular cake. Mochiko, Japanese sweet rice flour, is the ingredient that gives Butter Mochi its characteristic bouncy, chewy texture. Rather than shaping mochi by hand and steaming, you bake Butter Mochi batter in a pan in the oven.

Is Mochi the Same as Dduk/Tteok?
Great question! Though they're both made from rice flour, and most of them share that same bouncy texture, mochi and tteok generally refer to different things.
Mochi is a general term for a category of Japanese sweets made from rice flour, whether that's sweet rice in the form of a fine flour or whole rice grains. There are a lot of different kinds of mochi, but usually, when we refer to "mochi" outside of Japan, we are usually referring to the sweet rice flour version that is steamed or in some cases microwaved, then filled with sweet fillings, fresh fruit, even ice cream.
Tteok is a Korean term for a category of similar rice-based cakes and dumplings. Tteok can be made from sweet glutinous rice or regular rice, can be sweet or savory.
There are red bean versions of both mochi and tteok. Daifuku is a type of Japanese mochi that has sweetened red bean. Korean cuisine has a similar one to the daifuku, as well as a version layered with whole unsweetened red beans called pat-sirutteok.
What is Red Bean Walnut Butter Mochi
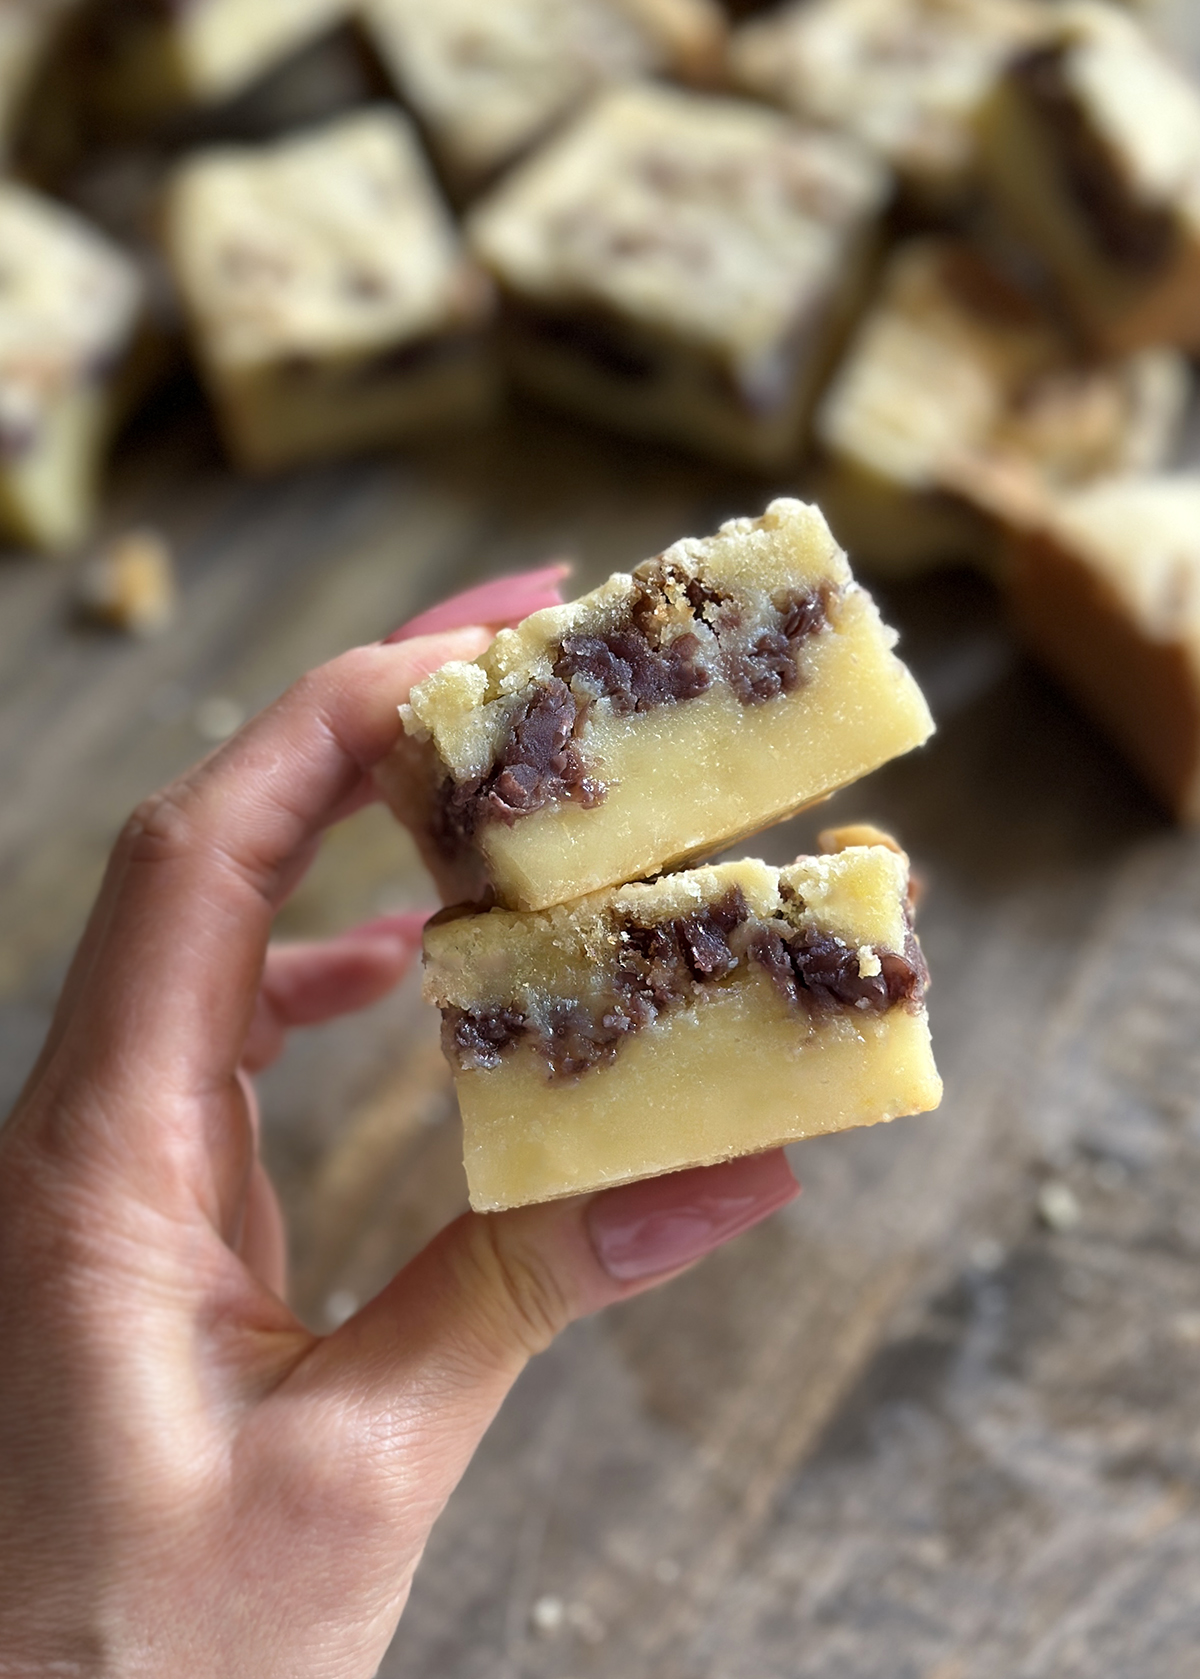
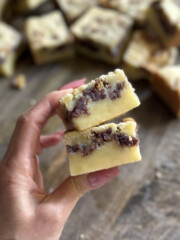
Because there are already versions of Japanese red bean mochi and Korean red bean tteok, it was a natural leap to get to Red Bean Butter Mochi. This version of Butter Mochi incorporates little pockets of sweet red bean and crunchy walnuts throughout the Butter Mochi. The red bean emphasizes the sweetness of the sugar and glutinous rice, as well as the richness from the eggs, and milk, while the walnuts counterbalance with naturally savory, nutty, toastiness.
Red Bean Walnut Butter Mochi is bouncy, beautiful, and definitely a must-make.
The Best Different Flavored Butter Mochi Recipes:
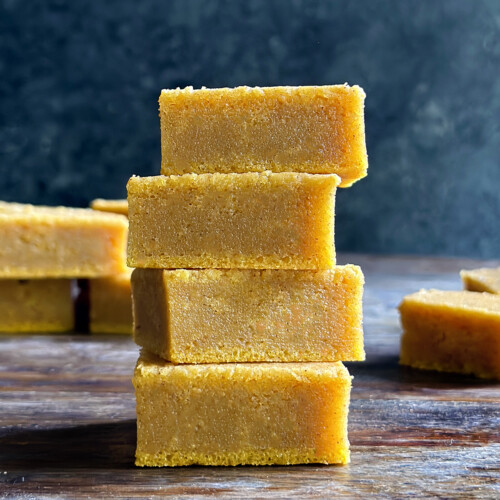
- Hawaiian Butter Mochi, the BEST tried and tested recipe for the original
- Strawberry Butter Mochi, not only flavored with strawberry, but naturally tinted pink from the strawberries blended right into the batter!
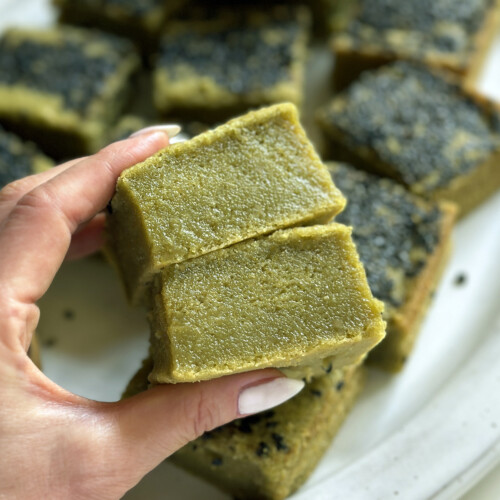
- Matcha Butter Mochi, the bright, grassy flavor of matcha infused into butter mochi giving it a major color upgrade!
- Pumpkin Butter Mochi, if your Pumpkin Spice Latte and mochi had cute little bouncy mochi bars

Ingredients You Need For Red Bean Walnut Butter Mochi
Here is a list of the ingredients you need for Red Bean Walnut Butter Mochi:
Dry ingredients from the pantry:
- Mochiko, also known as sweet rice flour or glutinous rice flour
- Red bean paste aka Korean paht or Japanese anko
- Walnuts
- Sugar
- Salt
- Baking powder
Ingredients from the refrigerator:
- Butter
- Eggs
- Milk

What is Mochiko, or Sweet Rice Flour?
Mochiko is a type of rice flour made from sweet rice, sometimes called sticky rice or glutinous rice. Though mochiko is generally associated with Japanese cuisine, it is a popular ingredient across many Asian cuisines, sometimes used in savory dishes, and mostly used in sweet desserts and confections. When baked or cooked, mochiko imparts a distinctive texture that ranges from bouncy and squishy to sticky and chewy. If you've ever had mochi, mochi ice cream, or any of the small colorful rice cakes like Korean tteok/dduk, Filipino bibingka, and Chinese nian gao, you're familiar with the texture.
Though the name has the word "glutinous" in it, glutinous rice flour does not have "gluten," spelled with an "e" in it, so it is in fact, gluten-free. The word glutinous refers to the high starch content of the sweet rice, which is what makes it sweet and sticky.
This is the brand of mochiko I use to bake butter mochi. A multi-generation Japanese-American rice farming family grows and mills it on their Central Valley California farm!

Other Types of Sweet Rice Flour
There are several types of sweet rice flours that are similar to mochiko in that they are derived from sweet rice, but different in the way they are processed and therefore slightly different in the final texture and how it is used:
- Shiratamako - Japanese type of glutinous rice flour, processed soaking the rice first then milling into a much finer final product that is better suited for silky mochi confections. This is not as widely available as mochiko, and is generally more expensive.
- Thai glutinous rice flour - made by the "wet milling" method and is used for smooth silky dumplings. If you can't find a glutinous rice flour labeled mochiko, this is a good substitute.
- Sweet Rice Flour - basically any other "Western" brand that makes its own finely ground sweet rice flour, e.g. Bob's Red Mill.

What is Sweetened Red Bean Paste
Red bean, also known as adzuki bean, is a type of small bean that is, you guessed it, reddish in color.
Red beans aren't actually sweet. But in Asian cuisines, the red beans are combined with sugar or other sweeteners then used in desserts like mochi and as toppings for ice cream and shaved ice. The red beans cook down to a texture that ranges from coarse mash to fine, smooth paste. This red bean paste is called "an," "anko" or "ogura" in Japanese, "paht" in Korean, and "hong dou sha" in Chinese.
You can buy sweetened red bean paste in cans or plastic packages at Asian markets, some well-stocked regular grocery stores, and online. You can also make your own sweetened red bean paste with dried red adzuki beans.
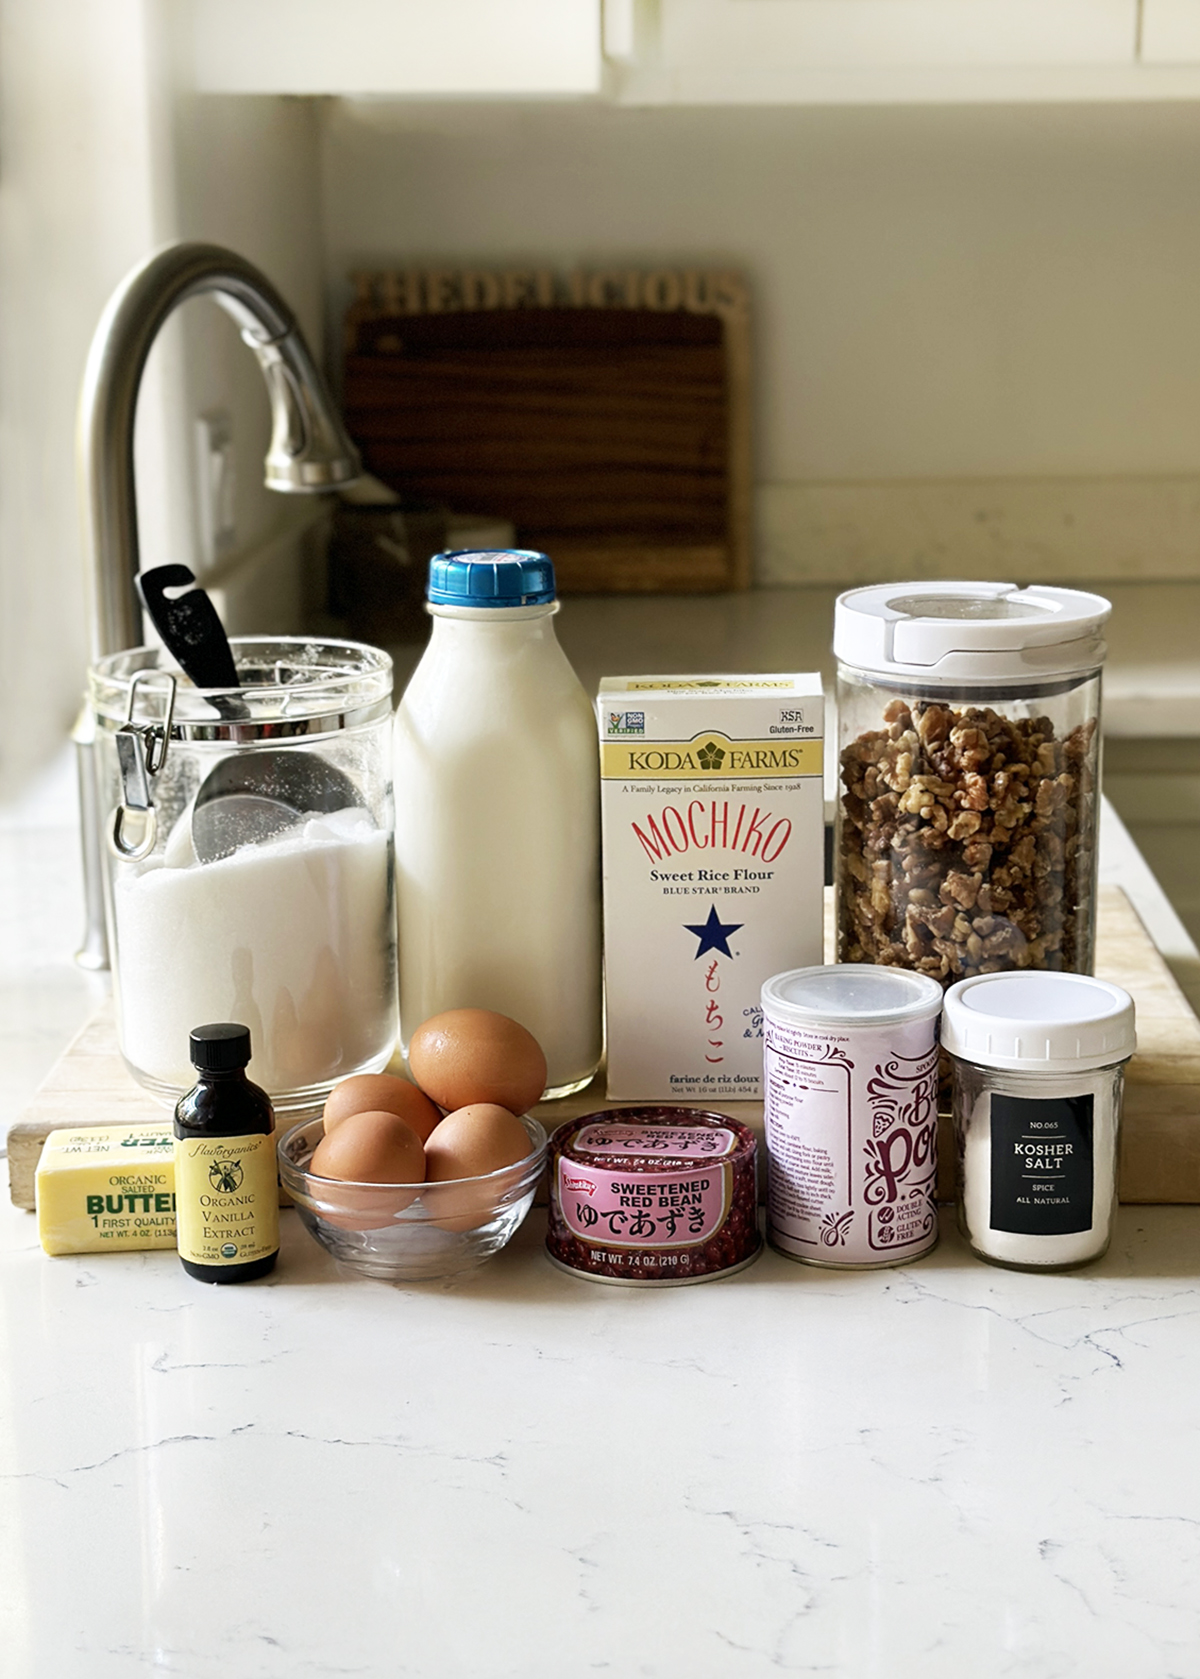
Ingredients Notes and Resources
- Mochiko. I almost always use this brand of mochiko. You can buy it at most Japanese and Asian grocery stores, and online. I have also used this Thai brand and it makes an almost identical Butter Mochi.
- Red Bean Paste. This is my favorite brand of store-bought red bean paste.
- Walnuts. I but whole organic walnuts in bulk from Costco.
- Sugar. Plain granulated sugar works the best here.
- Salt. Either this kosher salt or this ancient sea salt for every day use in the kitchen.
- Butter. I use salted butter for everything because I love salt. You can use unsalted butter, but why.
- Milk. You can use any fat percentage of regular dairy milk, though I have had the best results with 2%. You can also use a combination with plain, unsweetened coconut milk in a can
How to Make Red Bean Walnut Butter Mochi
First Half-Bake Bottom Layer
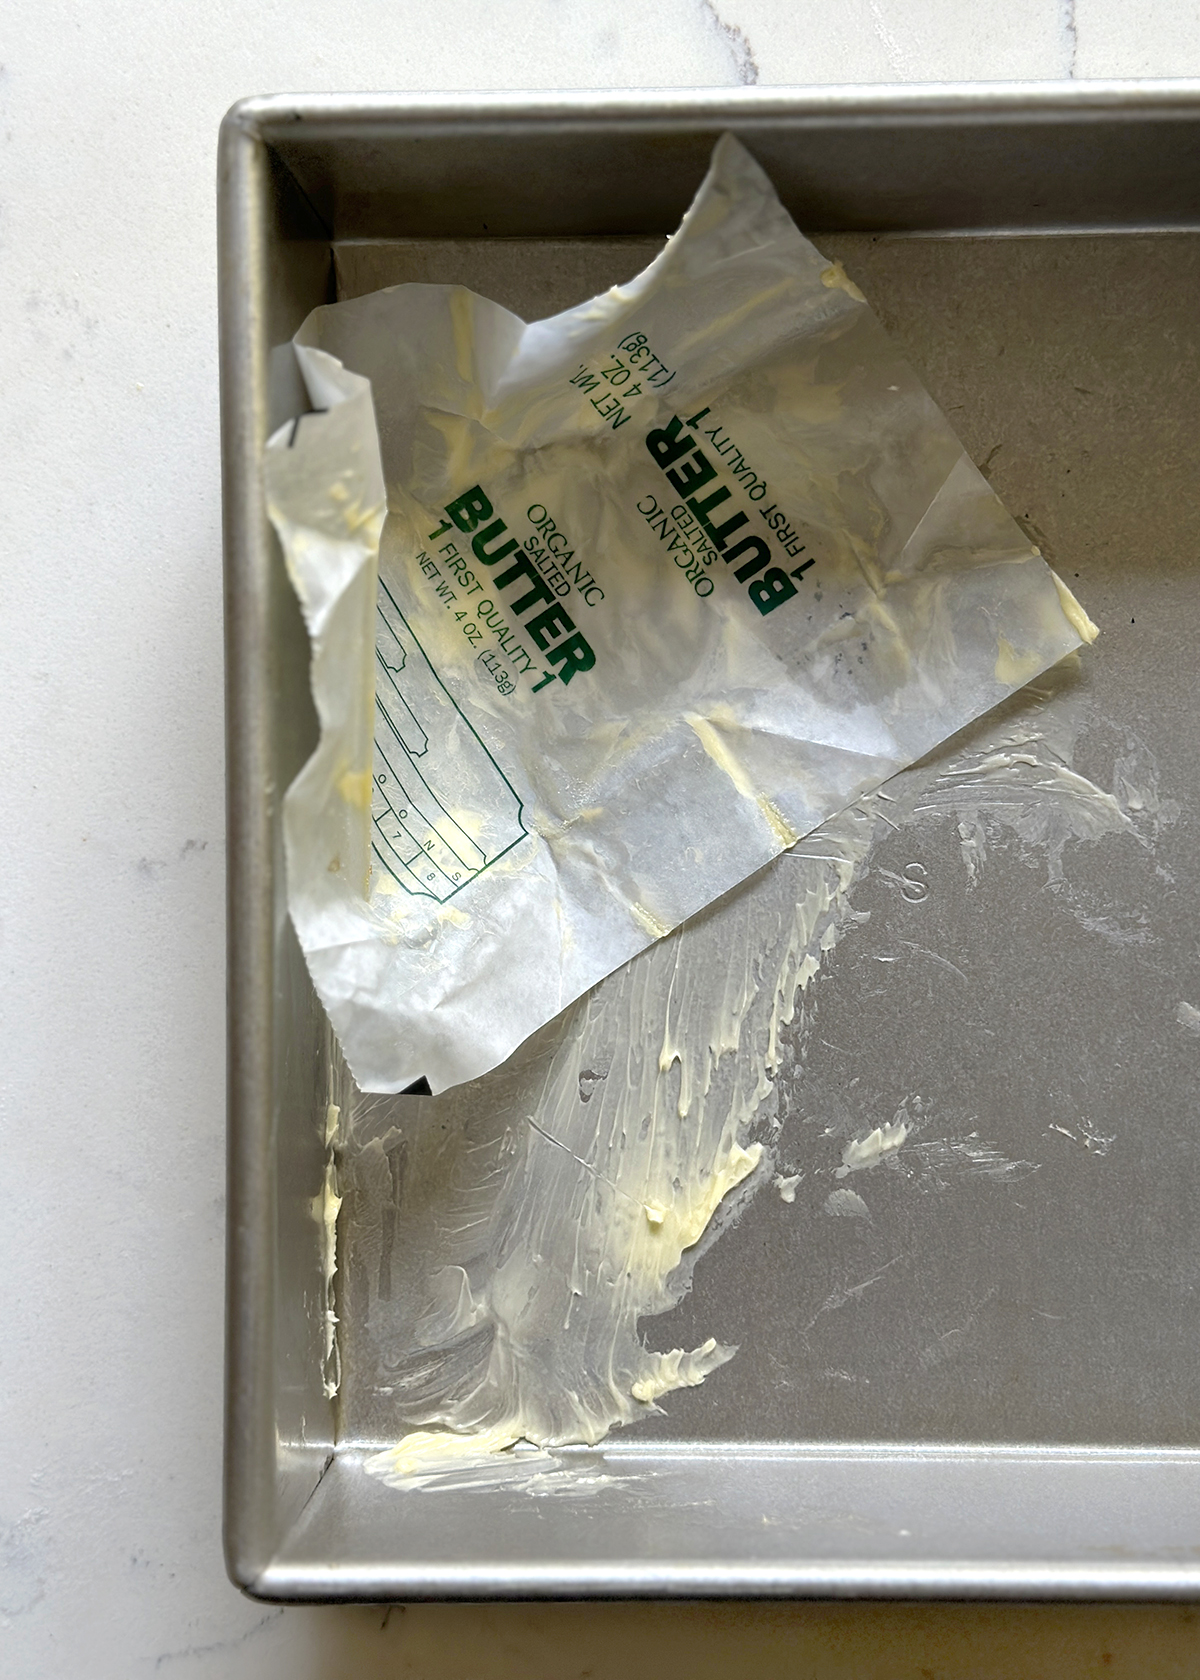
Pre-heat oven to 350°F. Using the wrapper and ½ tablespoon of the butter, generously grease the bottom and sides of your baking pan. Alternatively, spray with baking spray.

Whisk together 4 large eggs, 1½ cups sugar, and 2 cups of milk in a large bowl until well combined and pale golden in color, about 2 minutes. Try not to beat or whip too much air into the batter.
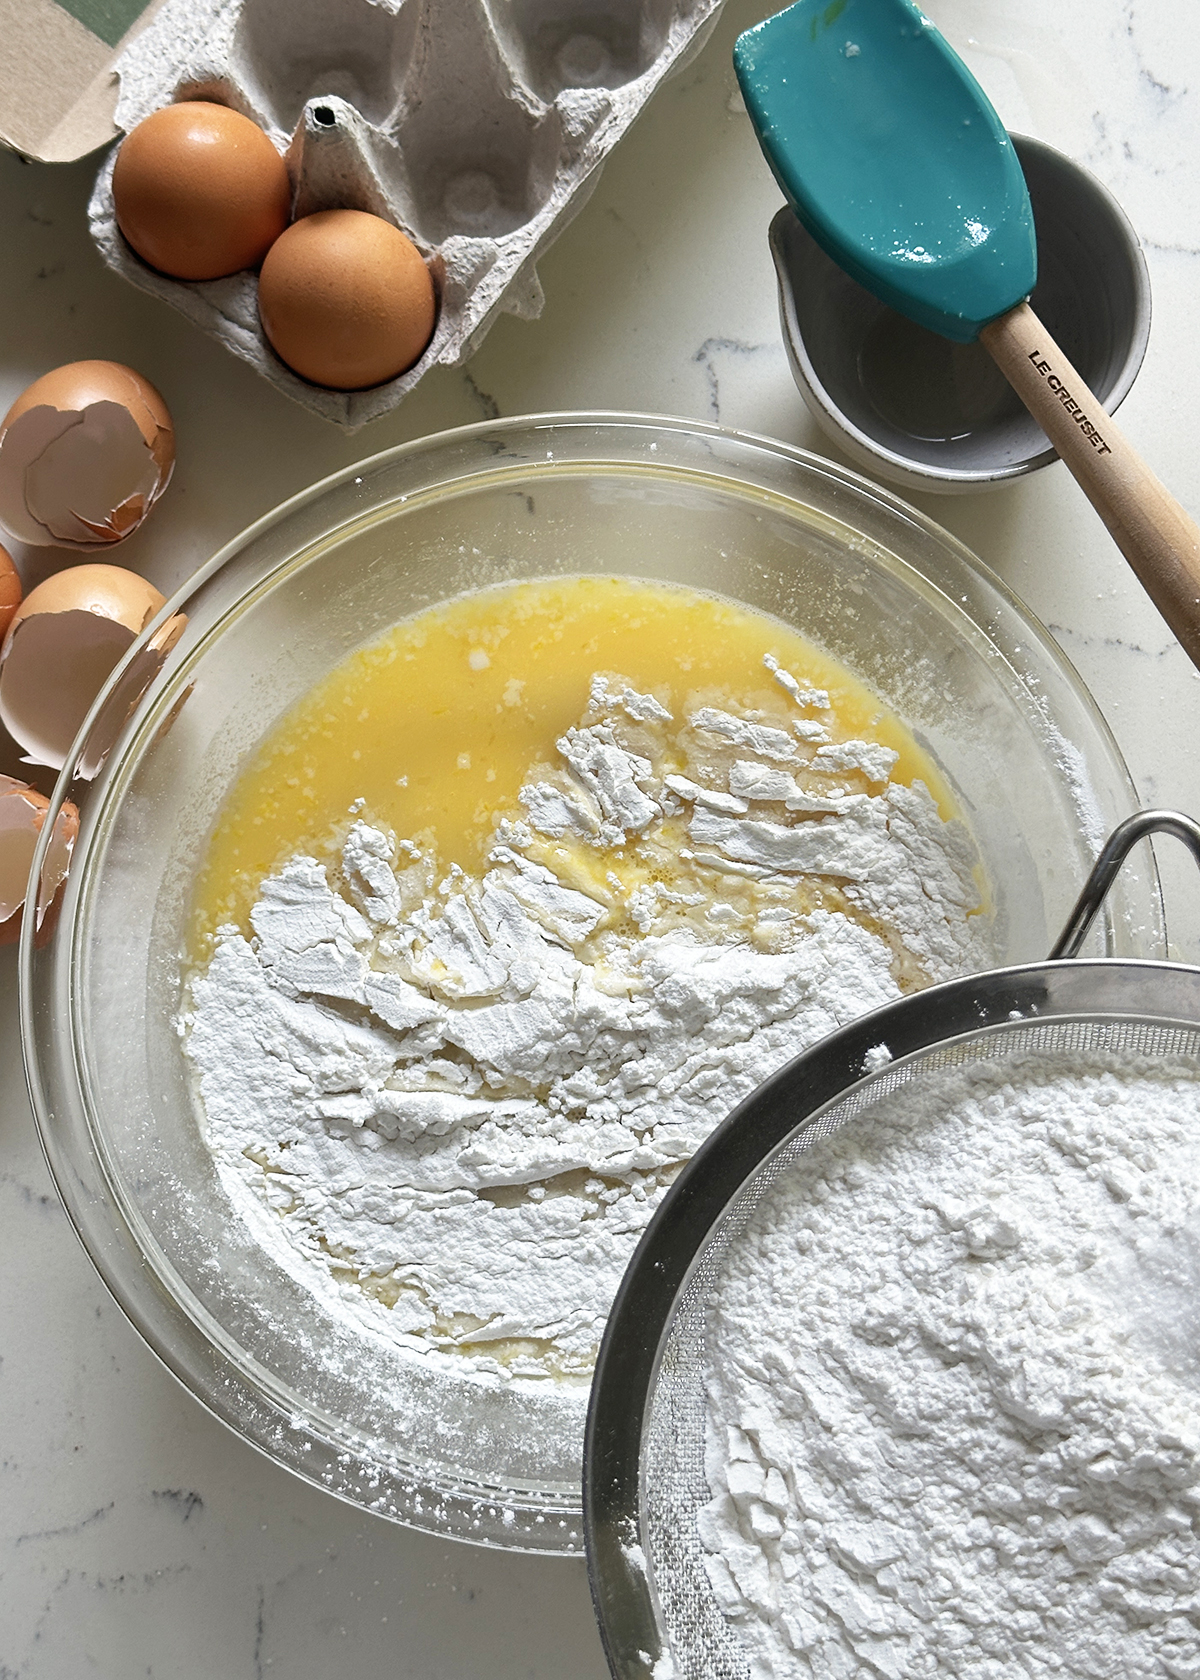
In a sieve directly over the bowl with the liquid ingredients, sift together all the mochiko, 1 tablespoon baking powder, and ½ teaspoon sea salt directly into the liquid ingredients.
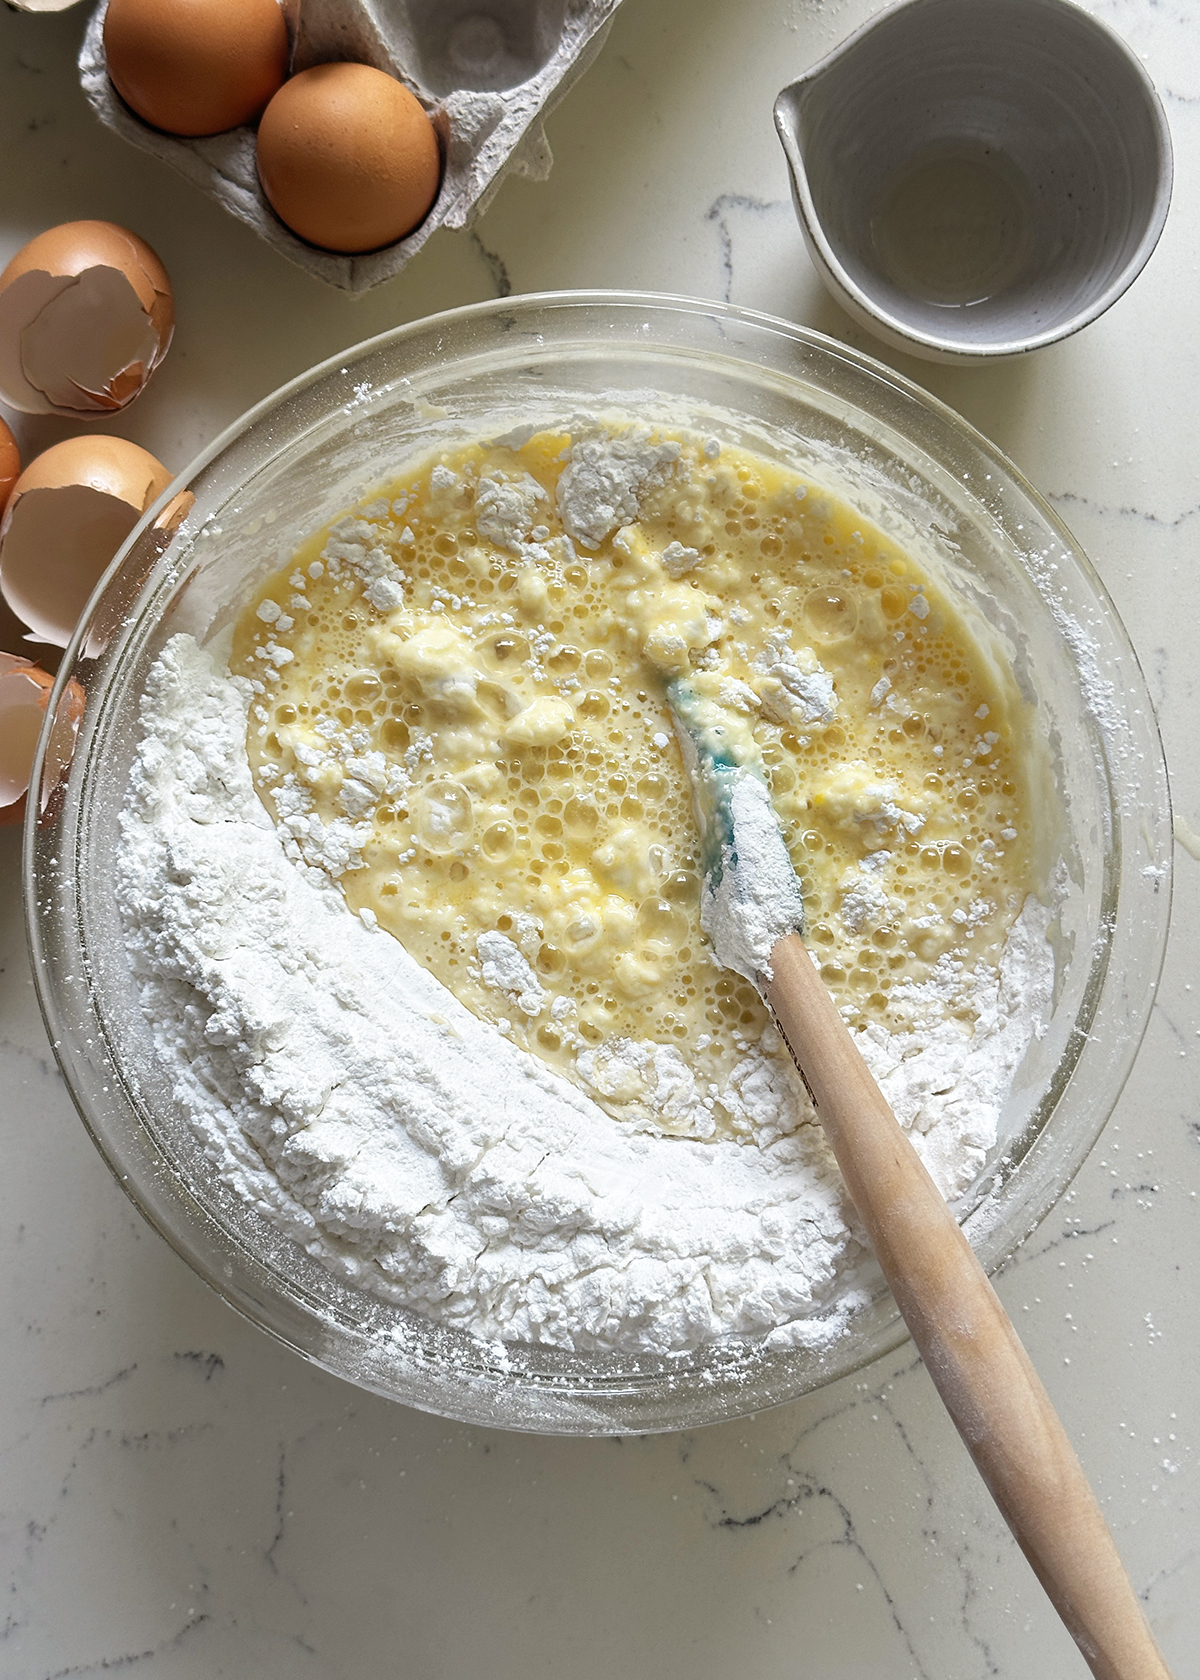
Stir dry ingredients into liquid ingredients until well incorporated. You do not need to worry about overmixing because mochiko does not have gluten.

Add the melted butter and mix until fully combined. The batter will be liquidy.
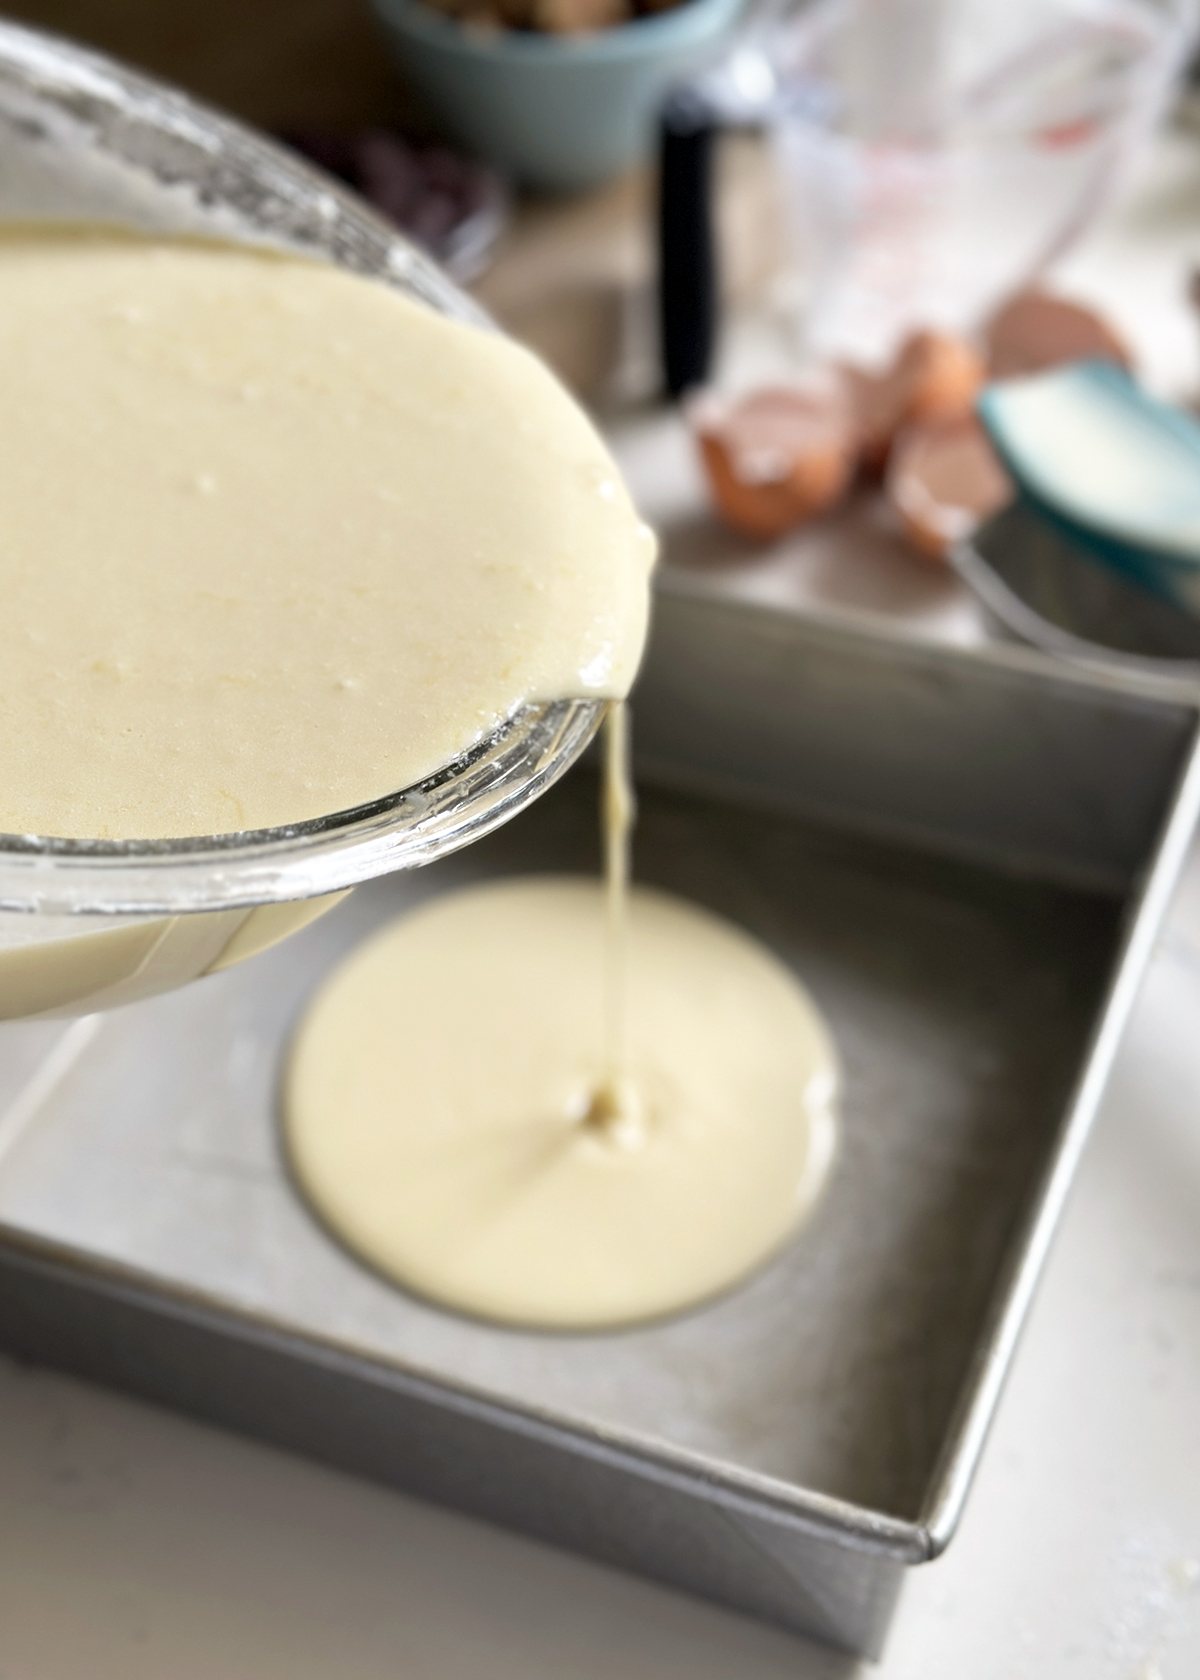
Pour HALF the Butter Mochi batter into the prepared baking pan. Tap the baking pan against the countertop to level out the batter and pop any air bubbles.
Bake the half Butter Mochi batter for 10-12 minutes, or until the edges are slightly puffed and no longer wiggles in the center when you shake the pan.
Second/Final Full-Bake with Top Layer
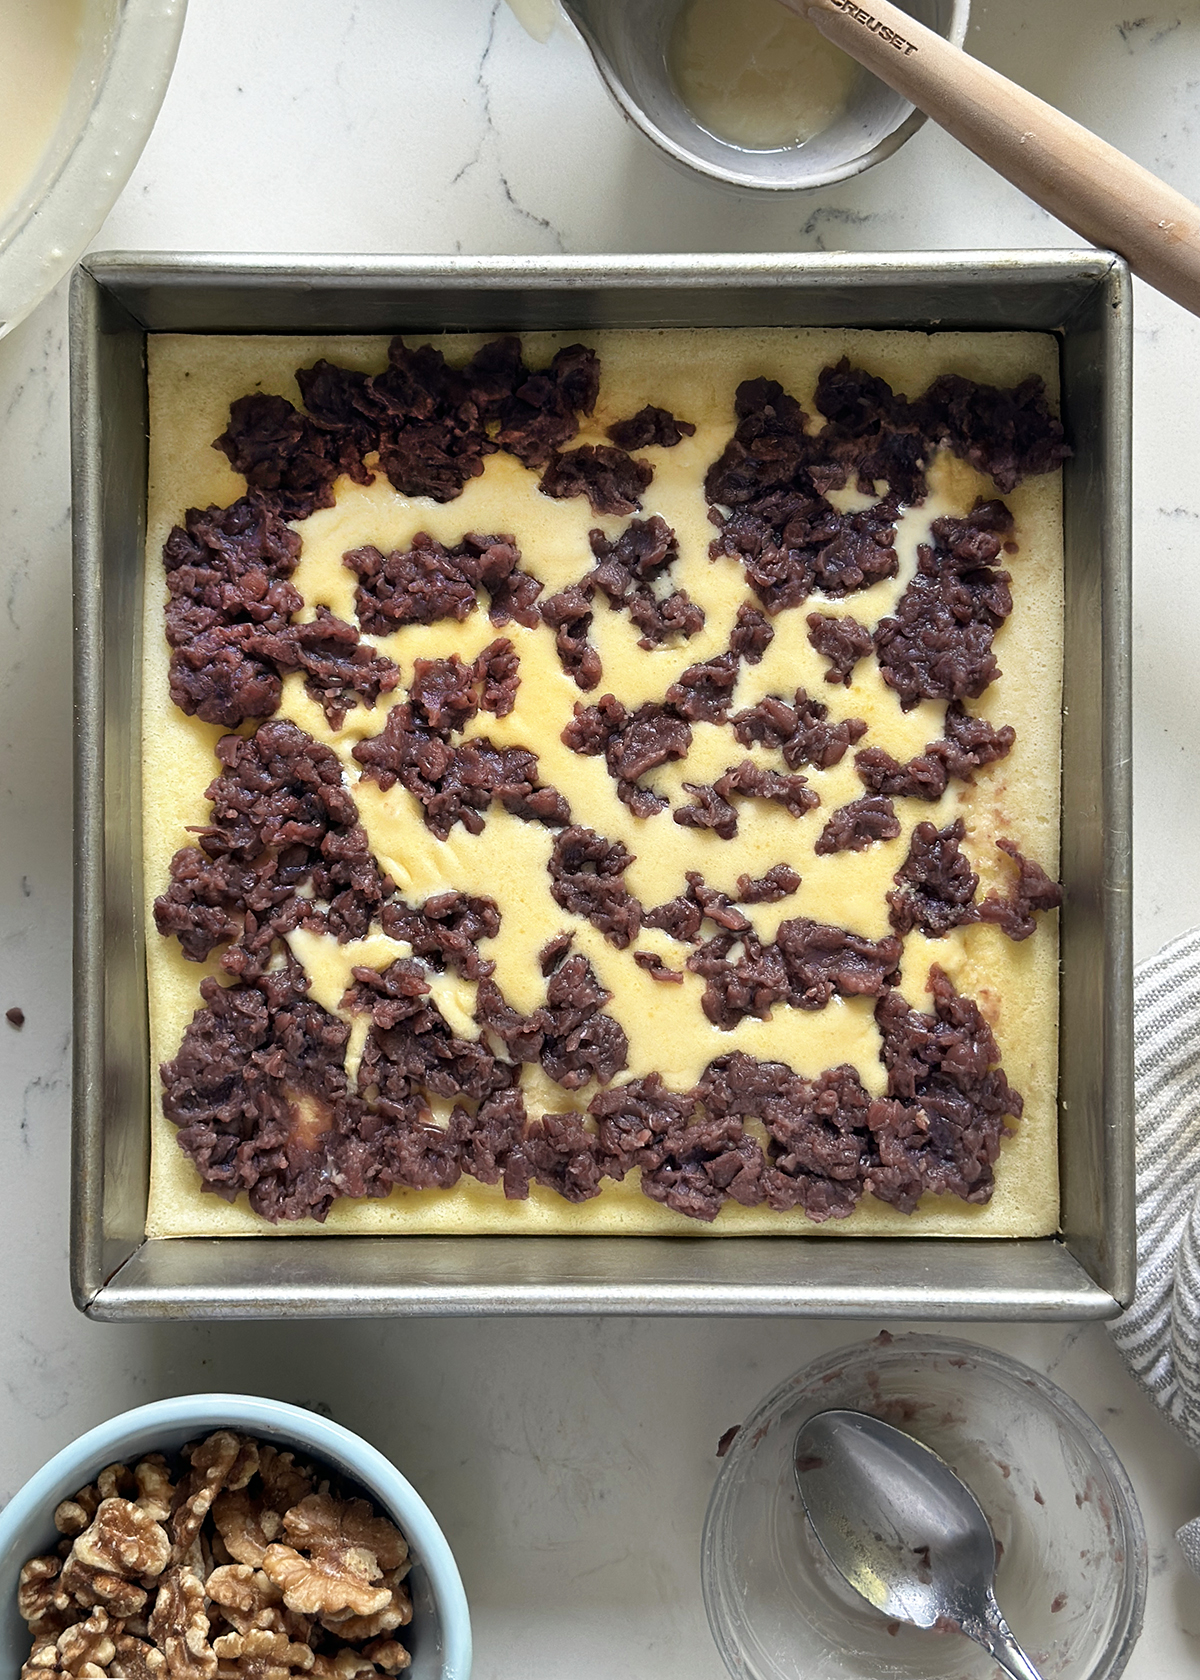
Remove the pan from the oven and very gently dot the top of the butter mochi with small flattened discs of red bean paste.

Scatter walnuts over and between the red bean.
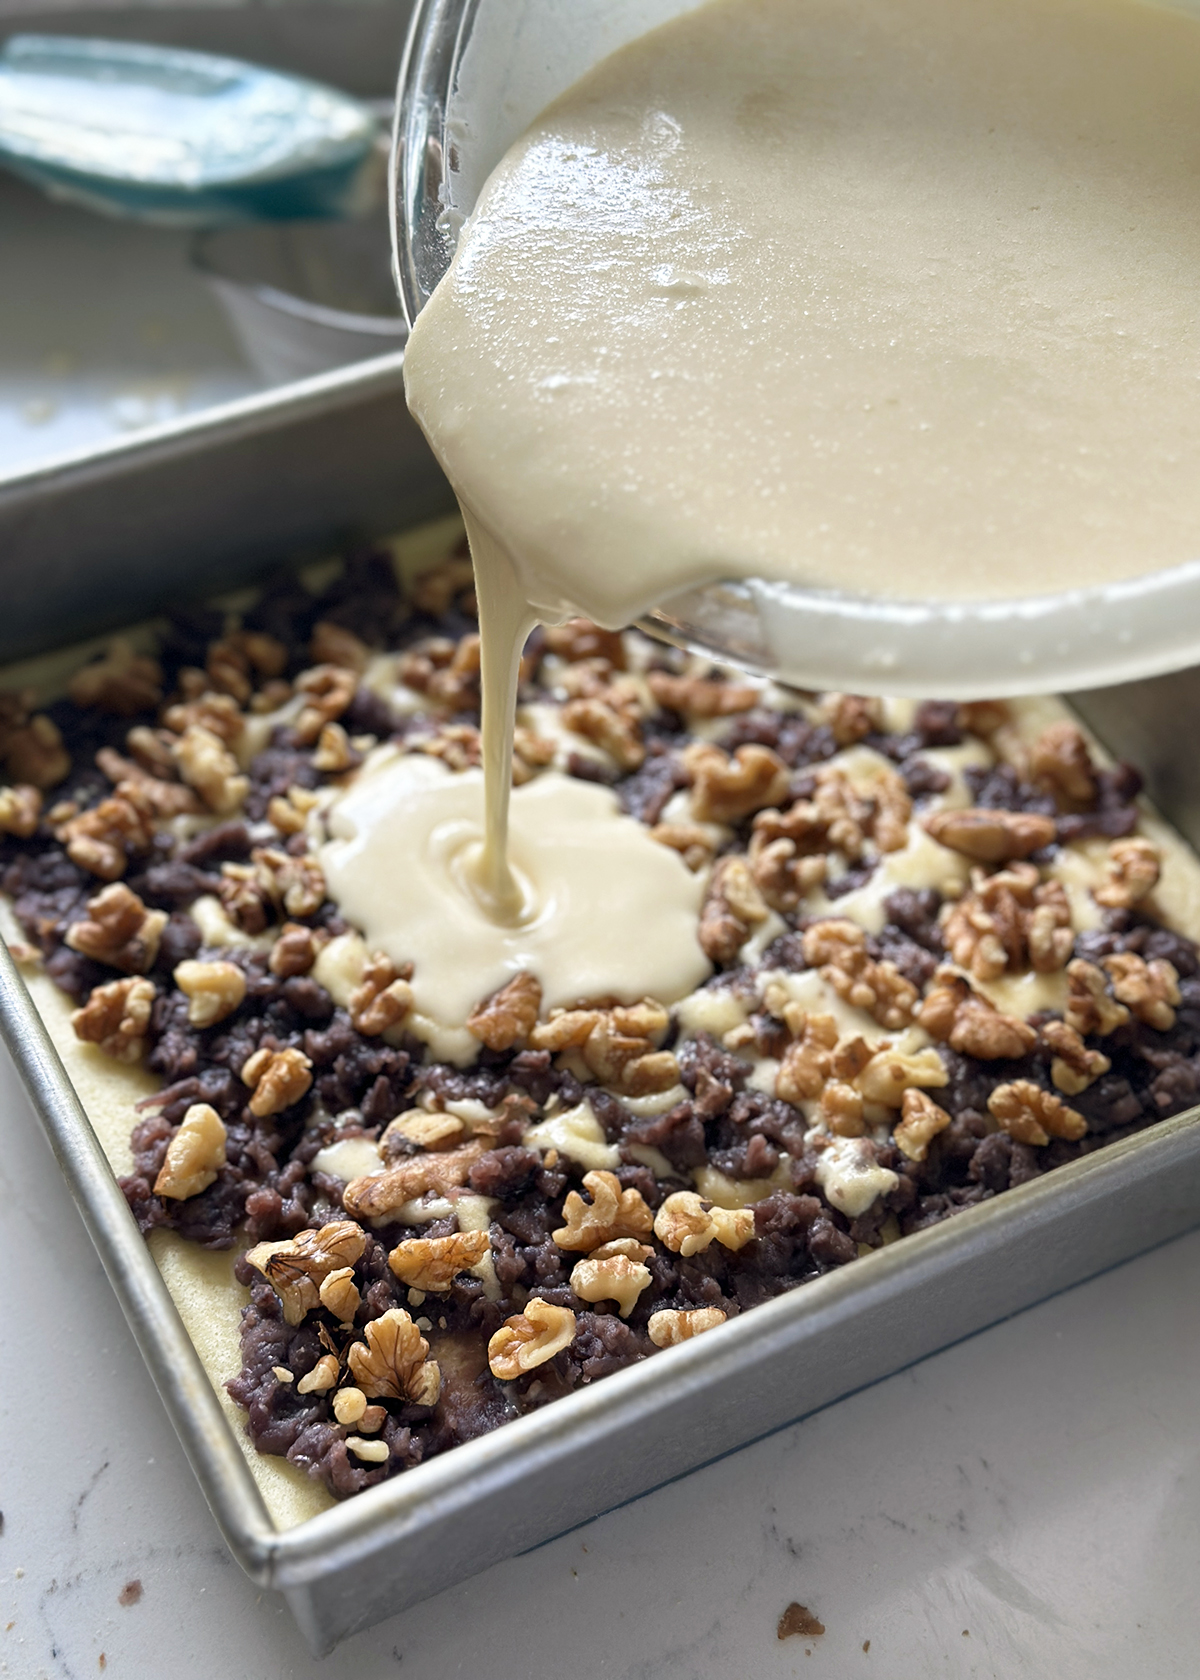
Carefully pour the remaining butter mochi batter over the red paste and walnuts. Gently tap the pan on the countertop to level out the batter and loosen/pop any air bubbles. It's ok if some of the walnuts and red bean may not be completely covered.

It's ok if some of the walnuts and red bean may not be completely covered. Return the pan to the oven and continue baking until the butter mochi is golden brown at the edges and no longer wiggles in the center when you shake the pan, 45-50 minutes.

Remove the Red Bean Butter Mochi cake from oven.
Run a knife with a thin blade around the edge of the pan to loosen the sides. Let the Red Bean Butter Mochi cool in the pan completely, about 1 hour.

Tip the Red Bean Butter Mochi out on to a cutting board to slice and serve or wrap for storage.
Pro-Tip: Use a PLASTIC DISPOSABLE knife to slice the butter mochi for the cleanest cuts. I have no idea what the science is behind this, but the plastic knife, unlike any other ceramic, serrated, ultra sharp hot buttered knife, does not stick to the mochi.
Pro Tips, Tricks, and Techniques
- Butter Into Corners. Make sure to grease all the way into the corners of the pan to make sure the Butter Mochi releases.
- Dust Pan with Extra Mochiko. Dust the buttered/greased pan with some of the mochiko or regular rice flour to make a very crackly crust around the edges of the final baked Butter Mochi.
- Whisk and Stir by Hand rather than an electric mixer, which will aerate the batter too much and give it a fluffier, more cake-like texture rather than the bouncy, chewy, mochi-like texture we want in Butter Mochi.
- Tap the Batter in the Pan against the counter to pop out any air bubbles.
- Use a PLASTIC Knife, like the disposable kind, to cut the mochi for the smoothest, edges and no sticking. I tried a serrated/bread knife, my ultra sharp Bob Kramer heated, run under water, slicked with oil and butter, and none of those even came close to a clean cut. I have no idea what the science is behind how or why the cheap plastic knife works the best, but it does.
Tools and Equipment for Butter Mochi
There isn't any special tool or piece of equipment required for Butter Mochi of any variation. In fact, I highly encourage you to skip hauling out heavy stand or hand mixers for this because you actually don't want to incorporate too much air into the batter.
However, that doesn't mean there are a couple of things that might make this Red Bean Walnut Butter Mochi cake easier than it already is to get from pantry to plate.
- 9x13-inch pan. Because the final baked mochi is very sticky, you will have to grease or spray the pan no matter what. So it doesn't matter if the pan is non-stick or not. I love this pan with the 90° angle, perfectly squared off corners. This is a more affordable one available on amazon.
- Ceramic 9x13-inch pan. Because Butter Mochi is considered something of a "homestyle" recipe, I love the look of it in baked and served directly out of a cute ceramic dish. And how cute is this sage green one???
- Parchment paper. if you're really worried about the mochi sticking to the pan, use parchment paper. Grease the pan directly first, layer with parchment, then grease the parchment. If you don't grease the parchment, the mochi will stick to it!
- Glass mixing bowls. You will need a fairly large mixing bowl to make this.
- Sifter. I use an inexpensive metal wire sieve to sift dry ingredients together. P.S. metal sieves are great for straining bone broth!
- Whisk. So much easier to grab a whisk out of the utensil drawer than haul a mixer out of the cabinets!
- Spatula. To scrape every last drop of that precious butter mochi batter out of the bowl and into the pan.
Different Size Pans for Baking Butter Mochi
- Can You Bake Butter Mochi in a Muffin/Cupcake Tin? Yes! And I highly encourage it because you get MAXIMUM crispy caramelized edges! Bake this Butter Mochi recipe as is in two 12-cup muffin tins, yielding 24 mochi muffins. Fill the muffin cups ⅘ full with just a ½-inch of space at the top. Mochi muffins do not rise like regular muffins and will not overflow. No muffin tops!
- Can You Bake Butter Mochi in a Square Pan? Yes! You can bake this Red Bean Walnut Butter Mochi recipe as is in two 8x8-inch square pans. Or, make half the recipe and bake in one 8x8-inch pan. The final product will be a little flatter, so check the butter mochi at 45 minutes.
- Can You Bake Butter Mochi in a Round Pan? Yes! You can bake this Red Bean Walnut Butter Mochi recipe as is in two 8-inch round pans or two 9-inch round cake pans. Or make half the recipe and bake in one 8-inch or 9-inch pan. The final product will be a little flatter, so check the butter mochi at 45 minutes.
- Can You Bake the Cake in a Loaf Pan? Not recommended! Unless you have four loaf pans and only fill them about 1-inch high each time.
I baked a killer Tres Leches Cake in the only 9x13-inch pan I owned and took it to my then-boyfriend's house for a dinner party. We broke up and I never got the pan back. So I make my Butter Mochi in one 9x9-inch square pan and the overflow in a muffin pan.
No I do not want to buy another 9x13-inch pan.
Leftovers and Storage
You can absolutely keep leftover Butter Mochi at a reasonably cool room temperature on the countertop for up to one day or 24 hours, or in the refrigerator up to three days, and inthe freezer up to one mont. You just need to take care to do a couple of things for optimal storage:
- Pre-slice the Butter Mochi into individual portions
- Wrap each individual piece of Butter Mochi in parchment paper (best option) or plastic cling wrap (acceptable option) to keep them from sticking together.
- Air-tight containers are the best for keeping the mochi from drying out and getting a little too chewy (unless you like that)
Here are detailed tips for how long to store leftovers:
Countertop. Keep leftover Butter Mochi in an airtight container on the countertop for one day.
Refrigerator. Keep leftover Butter Mochi in an airtight container in the refrigerator for three days. Take individual servings out of the refrigerator to come to room temperature or heat gently in the microwave for 30 seconds or in a toaster oven on medium.
Freezer. Store Butter Mochi for the longer term, about 1 month, in the freezer. It is best to freeze what you know you wont eat right away. Wrap each portion in parchment paper to keep from sticking, and store in an airtight, freezer-safe container. Thaw in refrigerator overnight, or pop into a toaster oven or air-fryer for a few minutes.
Ingredients Substitutions and Varying Ratios
Butter Mochi in general is fairly flexible in terms of flavor additions and measurement precision. However, there aren't many actual substitutes for the ingredients themselves, e.g. sweet/glutinous rice flour, butter, sugar, and eggs.
Ingredients Substitutions
- Can you use regular rice flour for Butter Mochi? No. Regular rice flour is not "sticky" and does not produce the mochi "bounce." You can use different styles of sweet rice flour or glutinous rice flour, but you cannot use regular rice flour, or any other kind of flour, for that matter, which brings us to the next question...
- Can you use a different type of flour for Butter Mochi? No, you cannot use any other kind of flour, e.g. wheat flour, cassava or other starch, or ground nut flours.
- Can You Substitute Out the Butter? The point of Butter Mochi is butter. If you want to use oil, make a different recipe. However, you can absolutely substitute a plant-based butter that has the same flavor and texture of regular butter in this recipe.
- Can you Replace the Eggs? I have not yet personally made this Red Bean Walnut Butter Mochi with an egg substitute, either store-bought or something like ground flaxseeds. If you do, please let me know how it turns out! I would recommend against ground flaxseed though, as they will take away from the smooth texture of the mochi.
- Milk. If you would prefer not to use regular dairy milk, you can substitute with an additional can of coconut milk, any other plant-based milk, or you can simply add 1½ cups plain water. Just be mindful that if you're trying to make this Butter Mochi dairy-free, you also have to consider replacing the butter.
- Can You Make it Vegan? If you replace the eggs, butter, and regular dairy milk with appropriate plant-based substitutes, the butter mochi will be vegan. I have not applied any of these substitutions myself. If you do, let me know how it turns out!
Varying the Amount of an Ingredient
- Sugar. If you prefer less sweetness, decrease the amount of sugar by up to half without affecting the texture of the final Butter Mochi. However, do not use a low- or no-calorie sugar substitute.
- Butter. My mom, a stubborn product of the lowfat diet era, requires that I reduce the butter by half in anything I ever make or bake. I have made this with half the amount of butter (¼ cup melted butter) and as long as you use whole, full fat milk, the final result will be
finegood enough. - Milk. Milk contains some fat that contributes to the richness of the final butter mochi. If you would prefer not to use regular dairy milk because of the flavor, you can add an extra 1 cup of regular dairy milk, as long as the dairy milk is at least 2% fat.
Red Bean Butter Mochi Recipe
Ingredients
- 4 large eggs
- 1½ cups granulated sugar
- 2 cups milk
- ½ cup unsalted butter (1 stick) melted
- 1 1-pound box mochiko, or sweet glutinous rice flour
- 1 tablespoon baking powder
- 1 teaspoon sea salt
- 1 cup sweetened red bean paste from one 7-ounce can of red bean paste or homemade
- 1 cup walnut halves
Instructions
- Heat the oven to 350°F. Lightly coat a 9x13-inch baking pan with butter or baking spray.
- Whisk together 4 large eggs, 1½ cups sugar, and 2 cups milk in a large bowl until fluffy and pale golden in color.
- In a sieve directly over the bowl with the liquid ingredients, sift together mochiko, 1 tablespoon baking powder, and ½ teaspoon sea salt directly into the liquid ingredients. Whisk until well incorporated. You do not need to worry about over-mixing because mochiko does not have gluten.
- Add the melted butter and mix until fully combined. The batter will be liquidy.
- Pour HALF the Red Bean Butter Mochi batter into the prepared baking pan. Lightly tap the pan against the countertop to level out the batter and pop any air bubbles.
- Bake the Red Bean Butter Mochi for 15 minutes.
- After 15 minutes, remove the pan from the oven and very gently dot the top of the butter mochi with small flattened discs of red bean paste and walnuts. Carefully pour the remaining butter mochi batter over the red paste and walnuts. Retun the pan to the oven and continue baking until the butter mochi no longer wiggles in the center when you shake the pan, about 45 minutes.
- Place the pan on a wire rack and run a knife with a thin blade around the edge of the pan. Let the Red Bean Butter Mochi cool in the pan completely, about 1 hour. Tip the Red Bean Butter Mochi out on to a cutting board to slice and serve or wrap for storage.
Nutrition
Afterthoughts
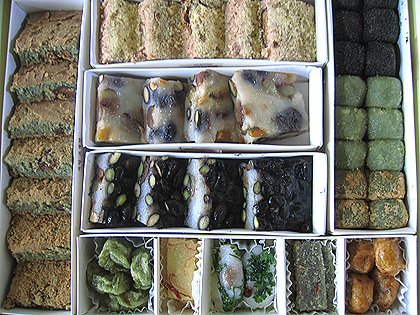
My sister’s parents-in law sent a giftbox of tteok to my parents, a Korean tradition for New Year’s Day. The box of tteok and each of the individual tteok made for some interesting and pretty photographs that my Dad and I snapped while I was showing him how to use his camera.
After the weekend, I [alt]+[tab]-ed to Word as I usually do. I waited for that sparkling stream of unconsciousness to flow from the beauty that is my mind, down my arms, out the two fingers on each of my hands (I never learned to type correctly), through the keyboard and into pure brilliance on my laptop’s screen and...I kept waiting. Nothing came out! What the...?!?

That’s not entirely true. What I meant to say is that nothing nice came out. The problem is, for the longest time I didn't really like tteok, and I found myself naturally petulant – snippy, snide comments and whiny words were appearing character-by-character on the screen. I tried to delete and re-write because one of my new year’s resolutions is to “write nice.” But suddenly, in some strange schizophenic turn on myself, such strict self-regulation tripped the alarm on my ugly inherent rebellious nature and all I could do was watch phrases like “works for dessert if you like sticky slimy goopy goo” appear on the screen.
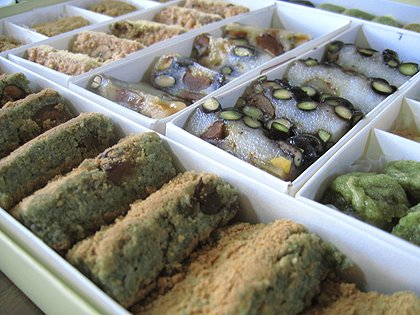
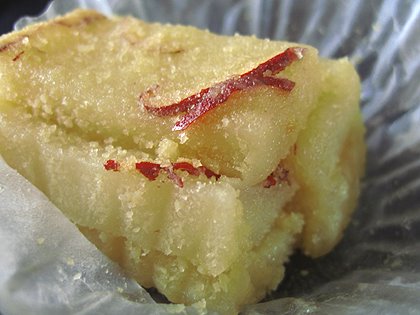
I even tried to play it safe by turning away from any taste opinions and writing something completely objective or expository, but I realized that beyond the simple fact that my family ate some of the dduk from the box after our New Year’s meal of dduk gook, I didn’t have much else to say without being painfully repetitive. I’ve already written about the history of tradition itself twice now, and had a guest blogger last Spring dedicate an entire post to his Mom’s dduk at San Soo Dang in LA’s Koreatown. I most certainly wasn’t going to post a recipe for dduk and make some of it myself.
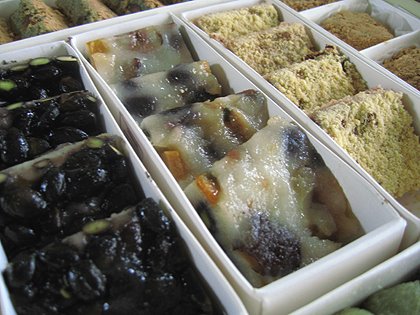
But dammit, if I was going to let those pretty pictures that my Dad took go to waste!
So after a momentary internal struggle and more than a moment’s worth of wine, I finally figured out a way to stay true to my feelings and let my words about dduk flow out naturally, even if they are not always positive. I’m just going to explain ten of my New Year’s food/foodblog resolutions with this box of dduk. See? I knew that bit of brilliance was lurking in there somewhere.
Resolutions
1. Eat local.
This gift box is from a dduk bakery (I’m not quite sure what a dduk-making place is called, but thought “bakery” would be as close as it would get) called Ho Won Dang. Though the original is in Seoul, this box came from the local LA branch just across the 405 freeway in Koreatown. Now, this brings me to my second resolution of eating local more than I did last year. This won’t be all that difficult because I didn't eat local last year aside from my visits to local farmers’ markets, I didn’t focus on local food producers at all.
2. Grow something
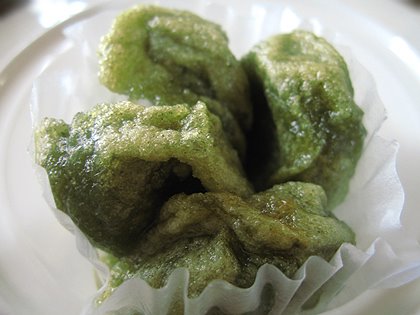
I may not be able to grow something as complicated (and profitable) as wasabi, but still I have resolved to grow something, anything, even if it means cilantro like the garnish on the dduk. I have no idea why someone would think cilantro would taste good on dduk that is filled with sweet red bean, but hey, I don’t think it tastes good in phô either, so never mind.
3. Cook at home
I’d really like to cook at home at least twice as much as I did last year. Twice as much cooking at home still won’t be half as much as I went out, but it’s a start. Given that my direct deposit isn’t quite as direct and if you really must know, then no, it's not really depositing at all, cooking at home is a budget-wise consideration. On New Year’s Day, I ate all of the dduk gook Mom made at home, but didn’t eat too much of the dduk that was brought out. Wow, didn’t think I could pull that one out my butt, could you?
4. Expand My Dining Horizons
There are all different kinds of dduk, and even though I just resolved to cook at home more, I do want to vary my dining experiences. Last year, I found myself very rarely eating outside a five mile radius of my Westside abode. I hate traffic, and trying to arrive for a dinner reservation in Hollywood between the normal hours of 7:00 and 8:30 PM means I have to drive in horrendous traffic through Westwood, Beverly Hills, etc. But I will suck it up. Or find someone else to drive.
5. Finish what I start
This is how my sister eats dduk: s
he picks one piece up, takes a bite, and puts it back! I suspect she will do the same thing with all those boxes of See’s Candies she’ll be getting next month. (Because is that’s the way she eats chocolate, I’m not wasting money on Teuscher!) The point is, she didn’t finish the dduk. Not me. This year, I am going to finish all the mini projects that I started last year, including my master To-Dine List.
6. Be nice
Since I don’t like dduk, my first instinct was to point out all of its shortcomings and whine about them, like I am so wont to do, it seems. The thing is, I wasn’t born this way. I used to love everything and gushgushgush, and even if I didn’t love it, I tried to be nice about it, and even if I couldn’t be nice about it, then I kept my nasty curses to myself.
However, I noticed that after being eliminated back in September and forced to stay home all day with someone named “gmail” as my only “human” contact, my posts were riddled with semi-censored swear words and were sounding more and more like those of an embittered, cynical, resentful, reclusive anti-socialite. I am going to ElizaDoolittle myself back to a sweet, positive-thinking, loving, charming, sees-the-goddamn-good-in-every prissy little pink Hello Kitty fairy princess. Okay? So, f--k you! Oops.
7. Post more regularly and consistently
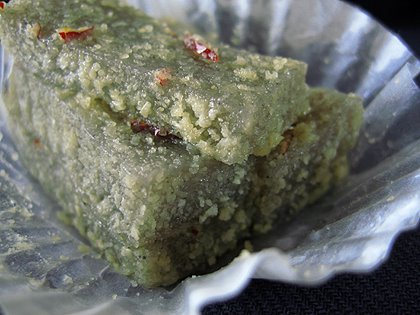
The tteok in the gift box were all lined up one right after the other in regular intervals. This is how I hope to post on The Delicious Life this year because last year, my blog couldn’t keep up with my mouth and I have to get back on schedule. No one is holding anything like money or fois gras over me. I just like having order. Speaking of order...
8. Organize my blog
Like to the individual pieces of dduk grouped into pretty, frilly little wrappers, and then placed in nice neat compartments, I need to organize my restaurant posts on my blog and make them easily accessible. Right now, they’re all just somewhere. Out there. In the great unknown called “archive.” So now I’ve got to group them by something logical and make them easy to browse and read. Logical categories, like what? Still trying to figure that out, along with how to manipulate the software to do this.
9. Call my friends
This resolution may seem slightly out of place, and I’m sure I can’t see how it fits in with the box of dduk, but I have to add it because, well, I just do. Blogging does weird things to your life, and if you aren’t careful, you might forget that you once had a life that actually had people in it. Remember those? People? They were your friends. You actually saw them and talked to them. Sadly, horribly, embarrassingly, I’ve almost completely lost touch with my friends because I’ve been too busy uploading photos, re-sizing them, and writing stories, and coming up with ideas, and posting and...and....and....
See all those pieces of dduk? They’re made from rice. In Asia, you never leave a single grain rice of by itself. That’s just like people – a person can’t be alone or else she’ll sit on the edge of the plate on the dirty side of the sink all by herself and shrink and shrivel and dry up until she falls off and gets washed down the drain with all the other rotting food in the garbage disposal. Let’s try to remember that we cook and go out to restaurants and eat and share food because we want to spread love and be with our friends and family.
Hopefully by the end of this year, I’ll have a neatly organized blog and a few nice things to say about dduk.






craig says
sarah - i know you are not having the 100 day party for your niece but dduk cake, no, cupcake tree yes...
craig
BBQ Junkie says
good luck with your resolutions. BTW, I love all of your photography.
Skip says
Can you add one more resolution?
I don't know what a lot of the Korean dishes you're talking about are. Rather than nod and smile like I "get it", I'd like to get it.
If you'd write a short description after naming them, or a link to some place that does, that'd be fantastic.
Your site is mouth wateringly good!
Skip
p.s. Cheesemonger needs a site, a more challenging job/hobby, or a hug.
sarah says
hey skip! thanks, and the funny thing is, i used to describe EVERYTHING, but then thought people would be offended like..."duh, you don't have to tell us what it is everytime, we KNOW"
but now, i will go back to doing that :) thanks!
Eve says
Miss you too...
flying betta says
speaking of dduk, you remind me of one of my favorite bar foods, dduk bok gee. with lots of green onions and fish cake. ummmmm..
flying betta says
speaking of dduk, you remind me of one of my favorite bar foods, dduk bok gee. with lots of green onions and fish cake. ummmmm..
sarah says
hey flying betta! here's one:
sarah's dduk bok-ki
MeowMix says
I just wanted to let you know that, as a korean-american living in LA, i LOVE your website.
and I agree with lacheesemonger, 'Delicious TV' Wed@ 11PM on LA TV 18 is amazing (even tho I barely understand what they're saying).
sarah says
hi meowmix! thanks for the love :) i might give it a viewiing, especially since i'll likely already be watching tv - some show called ham on the street premieres tonight (wed) and i'm intrigued
Maure says
Thanks for the to Dduk, however
the real question is:
Does Oscar's still exist on
Shattuck? I'm still hallucinating
from a cheeseburger there back
in '93.
sarah says
hey maure! hmm...you know, i have no idea if oscar's is still there! it's northside, right? i think i remember a late-night burger from there a few times, too. LOL!
Esther says
Question: on the ingredient list, it’s 1/5 c sugar, and the directions say 2 c - were you aware, and which is best? Thanks!